

Safety Tips
Prepare the work area before the tool starts moving.
A practical safety guide for inspecting tools, controlling the work zone, selecting protective equipment and maintaining clear handling throughout drilling, cutting, fastening, sanding and repair work.

Six checks that create a more controlled first step.
Pause before powering the tool. A short inspection can reveal damaged equipment, unstable material, poor access or an accessory that does not match the task.
Inspect the Tool
Check the housing, handles, switches, cords, battery, chuck, guard and adjustment points for visible damage or looseness.
Remove damaged equipment from use.Match the Accessory
Confirm that the bit, blade, wheel, abrasive or socket fits the tool and is intended for the material and operation.
Review size, speed and fit limits.Secure the Workpiece
Use a stable surface and suitable support so the material cannot shift, pinch, rotate or fall during the task.
Keep hands away from the working path.Clear the Work Zone
Remove clutter, manage cords and hoses, provide room for the tool to finish its movement and keep others clear.
Plan where chips, sparks and offcuts may travel.Select Protection
Choose eye, hearing, hand, respiratory, head or foot protection according to the material, tool and environment.
Check fit and compatibility between items.Plan the Stop
Know how the tool is switched off, where it will be placed and how the accessory will come to a complete stop.
Disconnect power before adjustment or service.
Select protection for the hazard, not only the tool name.
The same tool can create different hazards when the material, accessory or work area changes. Review the task first, then choose protective equipment that fits correctly and works together.
Look beyond the tool to the energy and material in motion.
A controlled setup considers where force, electricity, pressure, fragments, dust and heat may travel before, during and immediately after the task.
Moving Parts
Blades, wheels, bits, belts, chucks and fasteners can continue moving after the trigger is released.
- Keep guards correctly installed.
- Wait for complete stop before setting down.
- Disconnect power before changing accessories.
Electrical Energy
Cords, plugs, batteries, damp conditions and hidden wiring can change the risk of a routine repair task.
- Inspect cords, plugs and battery housings.
- Keep electrical tools away from unsuitable wet areas.
- Check for hidden services before drilling or cutting.
Dust, Chips & Sparks
Cutting, sanding, drilling and grinding can send material toward the operator, nearby surfaces or ignition sources.
- Plan extraction, ventilation and cleanup.
- Control the direction of discharge.
- Remove unsuitable flammable material from the area.
Work Position
Reach, balance, lighting, support and tool reaction affect how reliably the operator can maintain control.
- Use stable footing and suitable access equipment.
- Keep the task within a controlled reach.
- Plan for kickback, binding or sudden release.
Create a clear path for the tool, the material and the operator.
A bright, stable and uncluttered work area supports better control. Arrange the project so the tool does not have to cross loose cables, unsupported offcuts or unnecessary obstacles.
Secure the workpiece
Use a stable bench, suitable clamps and support on both sides where material may separate.
Check that supports will not enter the tool path.Keep the line of work clear
Improve lighting, remove loose debris and maintain a visible mark, cut line or fixing point.
Do not rely on a hidden or obstructed reference.Allow room to finish
Confirm that the tool, guard, battery, cord and operator can complete the movement without collision.
Plan the start, working path and safe stop position.Control access
Keep children, pets and bystanders away from the project area, flying debris and energized equipment.
Store idle tools so they cannot be activated unintentionally.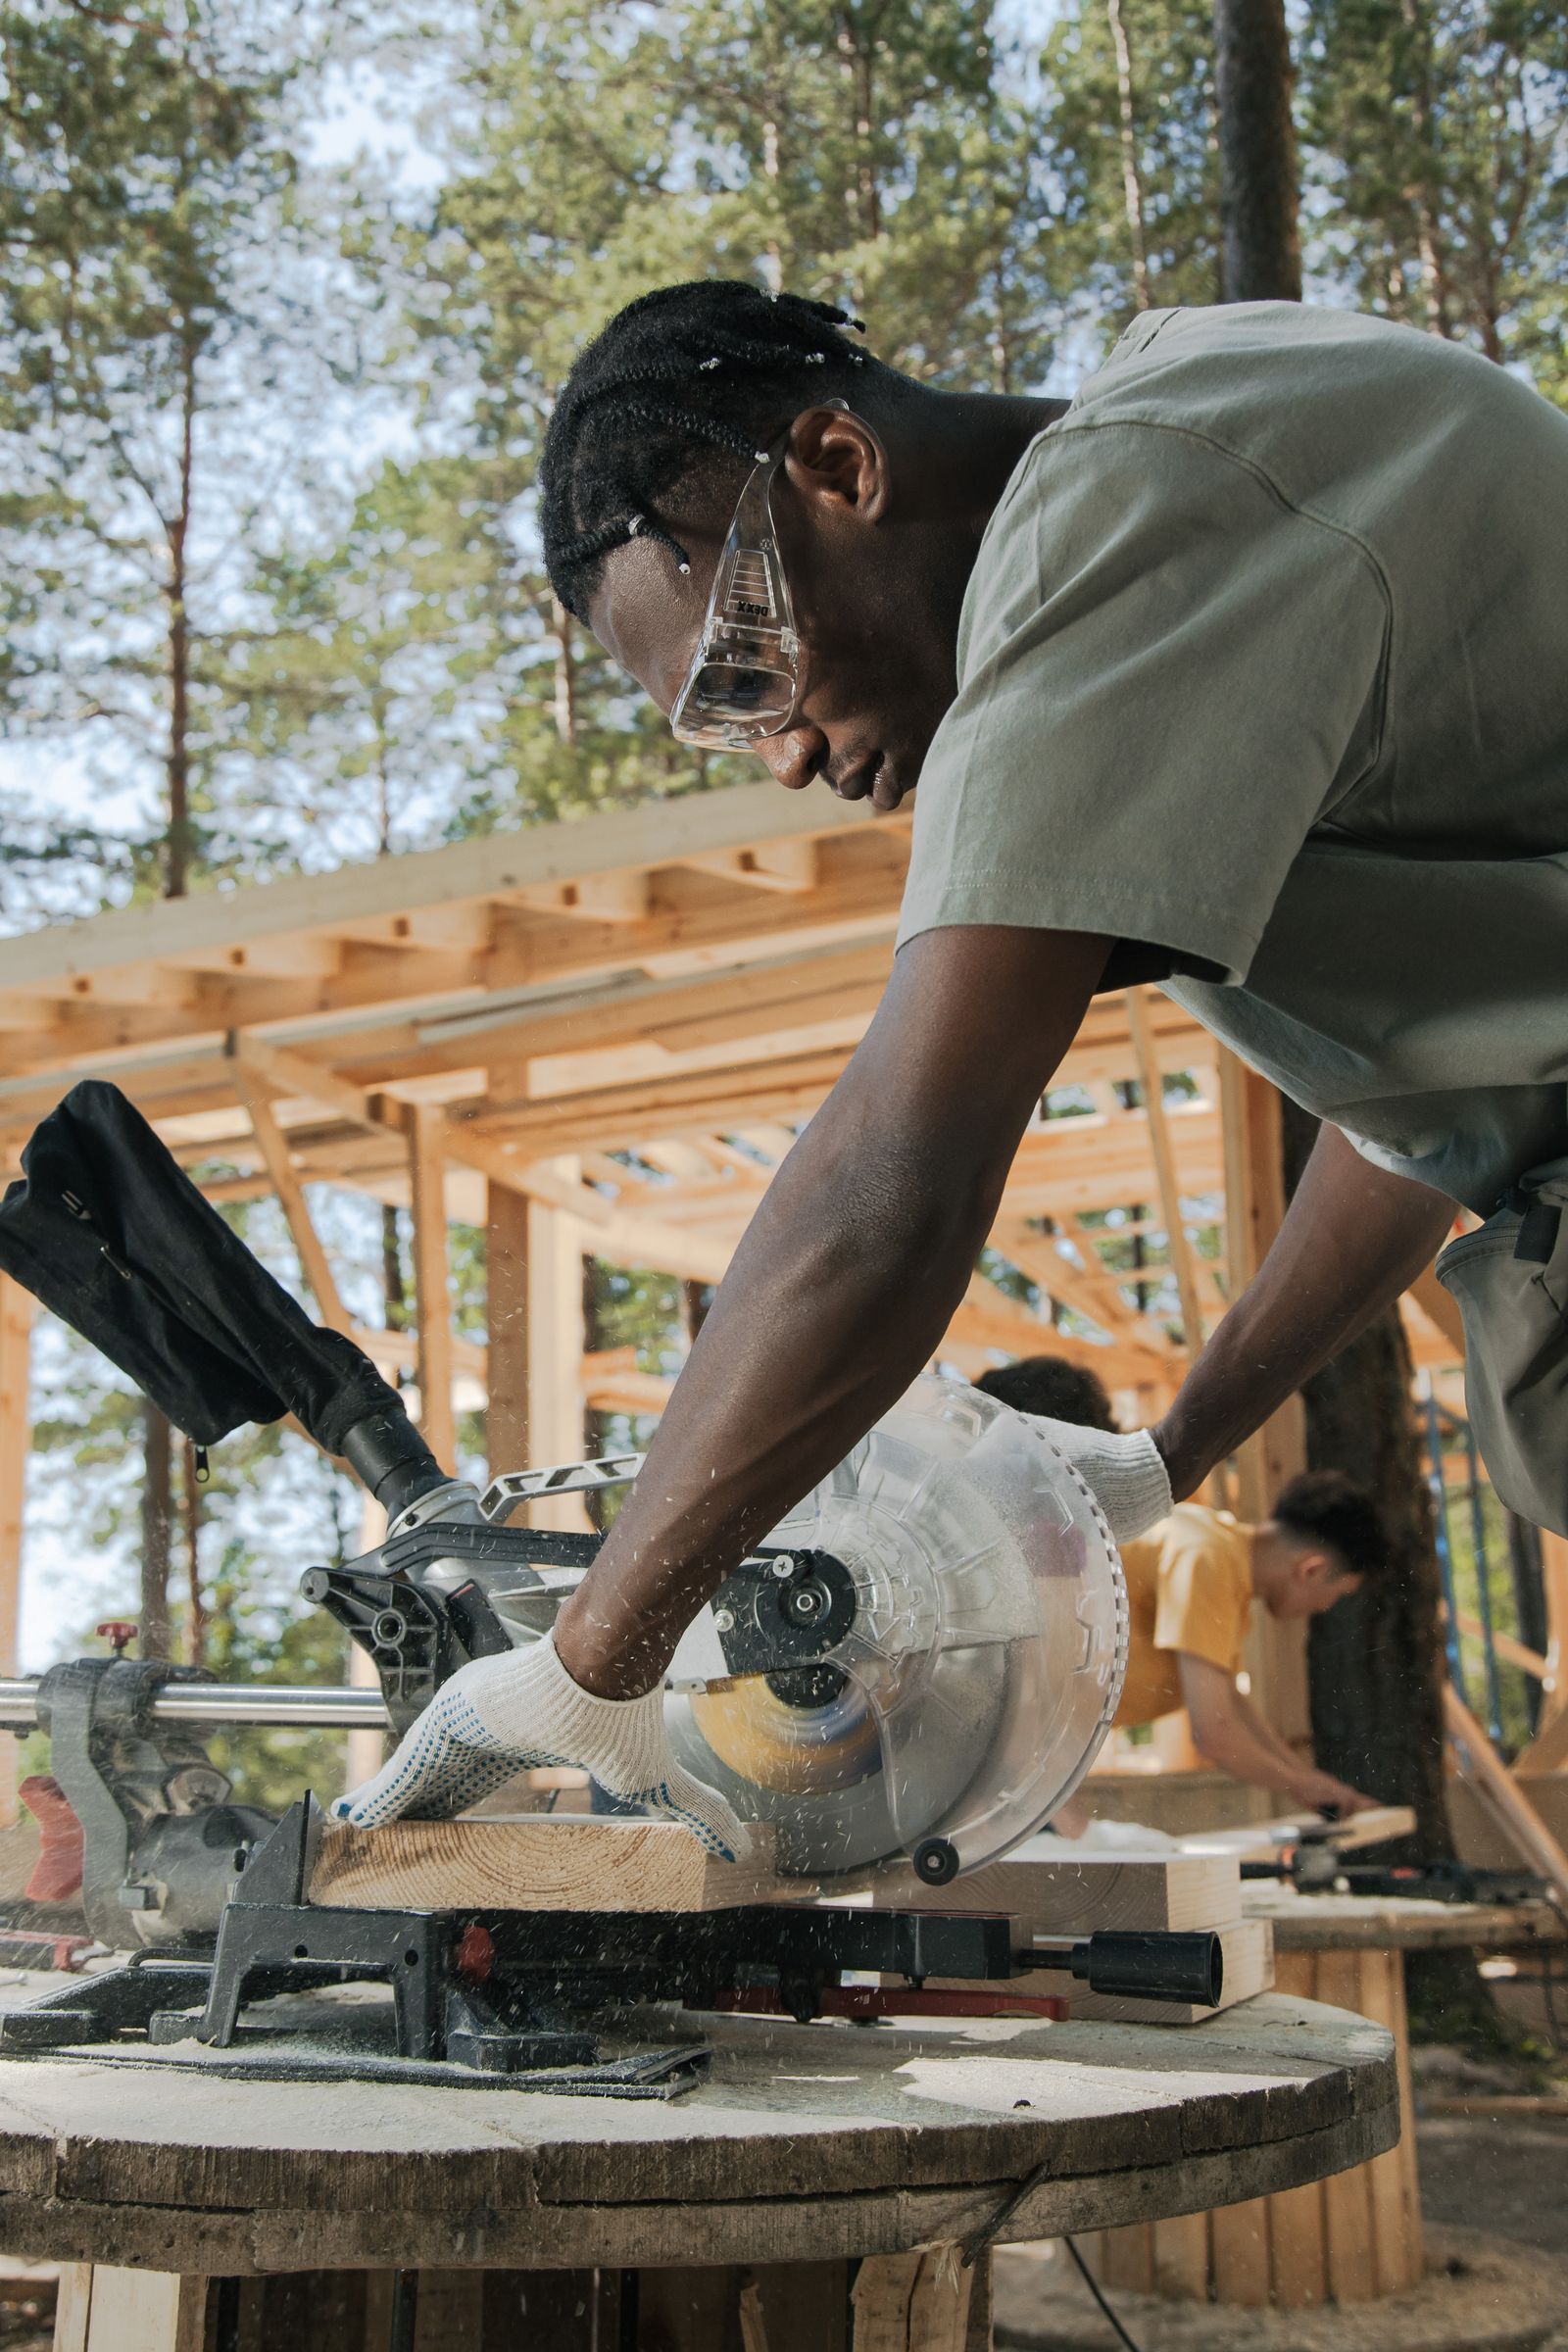
Support the material and keep guards working as designed.
Cutting tools require a clear line, correct blade, stable material and enough room for the guard and tool base to move freely. Plan the offcut before the cut begins.
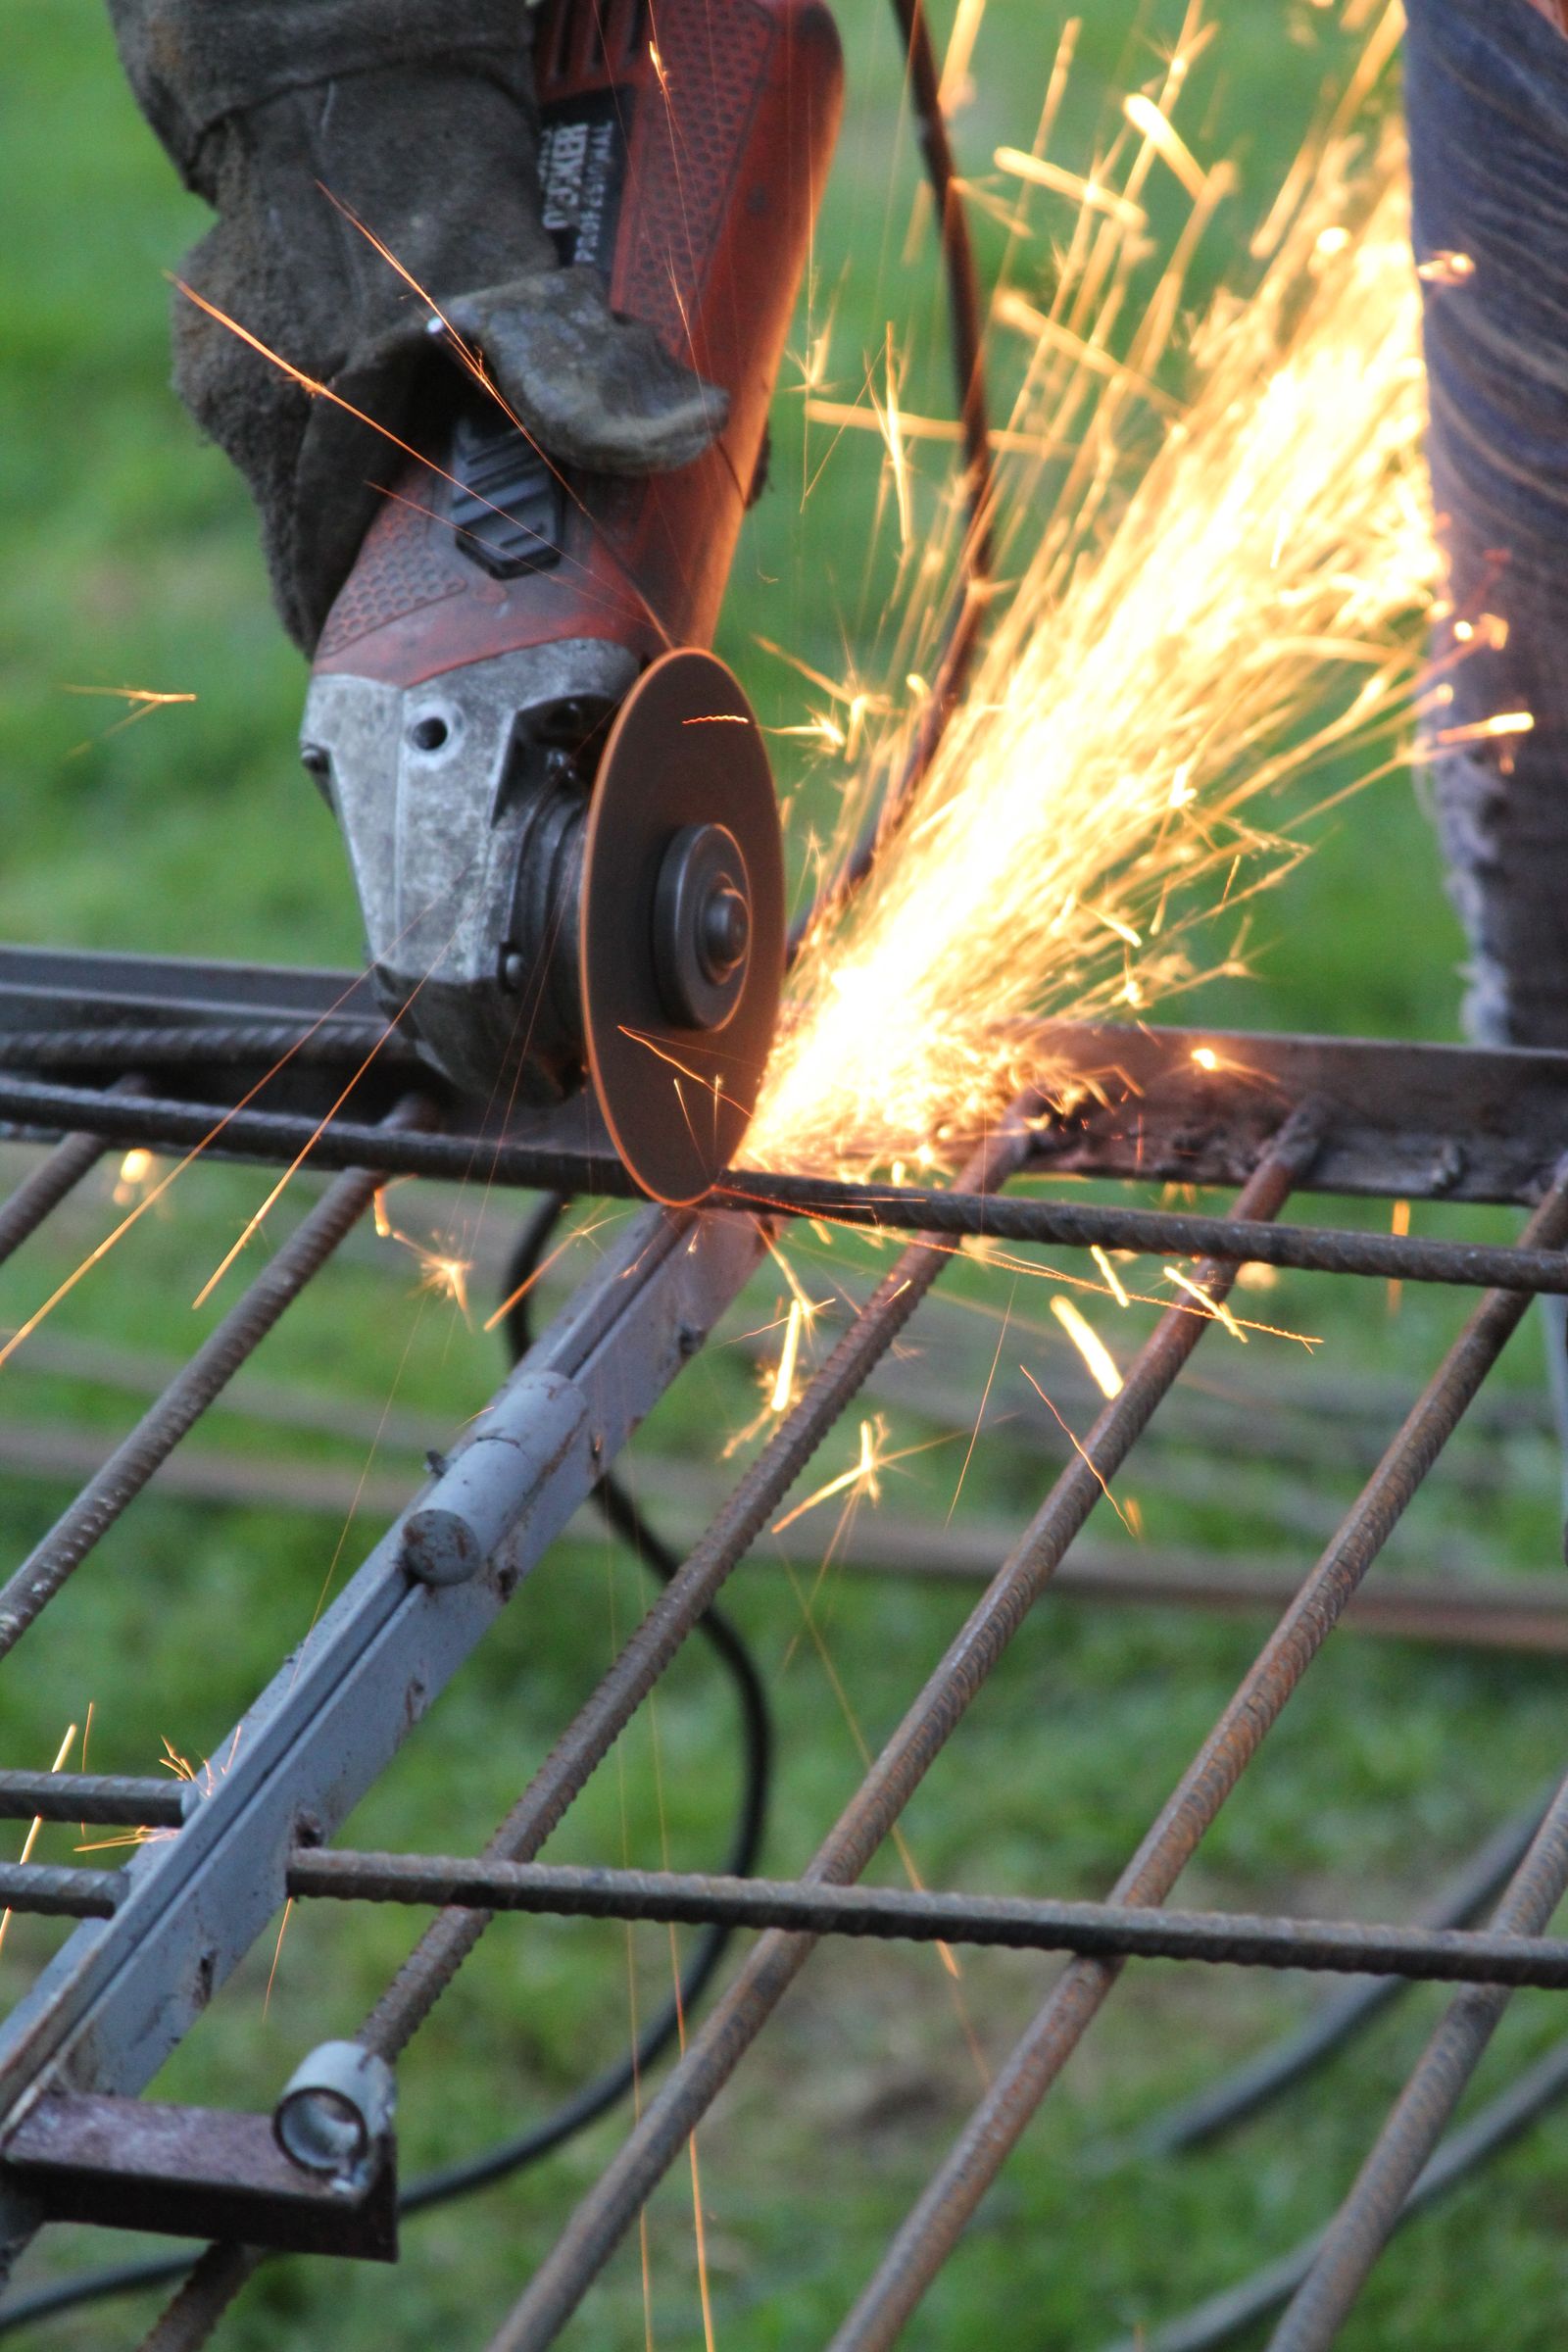
Control the wheel, the sparks and the material being removed.
Grinding and abrasive work can create noise, dust, sparks and high-speed fragments. Use the specified guard, suitable wheel and protective equipment, and keep the discharge direction controlled.
Common checks before home-repair work.
This page provides general guidance. Always follow the instructions for the specific tool, accessory and material, together with applicable local requirements.
When should I disconnect a power tool?
How do I choose the correct protective equipment?
Can I use a tool if the guard is inconvenient?
What should I do with a damaged cord, plug or battery?
How should I control dust during drilling, cutting or sanding?
Need help matching a tool, accessory or protection category?
Share the task, material, tool type and working conditions with HouseTool. We can help you narrow the product category and compatibility questions that deserve attention before the project begins.